Google Adsense Account Approval Process 2018
Google Adsense Account Approval Process 2018
It’s pointless to mention again that Adsense is one of the best contextual advertising networks. Until now,
The AdSense account activation process
1. Connect your site to AdSense
2. Provide your payment address
3. Verify your phone number
Note: It’s important that you do these tasks, otherwise we won’t be able to complete the activation process.
2. Next, Google automatically reviews your entire site (not just the URL that you provided when you created your AdSense account) to check it complies with our policies and set up the rest of your account. It typically takes our specialists less than a day to complete the review but sometimes it can take longer.
As in my case, It took 1 month to activate my Adsense, because My Adsense approval was in pending.I have shared my Adsense Experience in this video.Have a look –
When we’ve completed the review, we’ll send you an email with details on your activation status.
3. Once your AdSense account is fully activated, you’re ready to set up ads on your site and start earning money.
For some publishers, the activation process can be as quick as a day, and for others, it can take several weeks. Note that some parts of the process require actions on your end, and we can only activate your account after you complete them.
Important points to help get your account activated:
1. Copy the code exactly as it appears on your AdSense homepage.
2. Place the code on the URL that you provided when you created your AdSense account.
3. Make sure that you place the code on a page that has content and receives regular visitors.
Note: As Google said, They’ve found that in most cases when a publisher waits a long time to be activated, it’s because they haven’t placed the code on a page that gets regular views.
See How to Place The Adsense Ad code properly through this video tutorial –
Things to Know :
1. Ads will shows as blank until final approval process doesn’t finish. It may take up to 2 weeks for approval. Make sure you don’t remove the ads
2. After the final AdSense approval, you will get a confirmation email.Like this –

3. Log in to your AdSense account, and enter the Pin once you receive it.
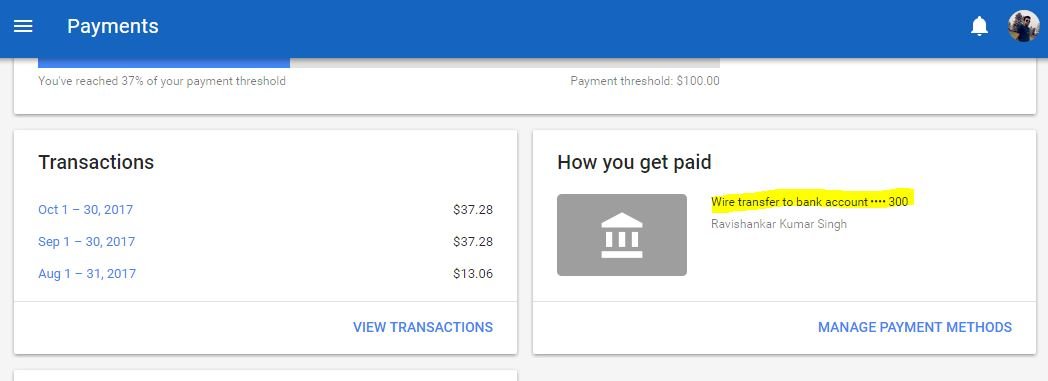
4. Congrats you have completed all the steps. Once your account reaches $100, Google will send you or wire your earning. I recommend you to enable direct bank transfer for AdSense payments.
I hope this will help you to know more about Adsense.If you have any query then comment below.We will answer you soon.
Read Also:
How to find own Youtube Channel on Top in Youtube Search?
Adsense Rejected! What to do next?
Top things to do before applying for Google Adsense?
Adsense Account Pending review What to Do Next?
Embedding a Youtube Video In WordPress | make them Autoplay.


Comments (9)
Jack Mike
Excellent information on your blog. Thank you for taking the time to share with us.
Okey Ravi
Thanks a lot, you made my day. Enjoy AdSense earning.
Ahmed iqbal
Hello Okey Ravi,
Thanks for your Adsense approval Tips, Keep it up 🙂
Okey Ravi
YOU WELCOME, IF YOU NEED ANY HELP DO CONTACT US
Okey Ravi
Thanks Abhi
Akshat jain
Thank you for sharing this amazing AdSense approval guide..
Krishna Gupta
Great… I really appreciate your work.
Okey Ravi
Thank you.
Okey Ravi
Thank you.
Comments are closed.